Every OCI project starts with networking. A properly configured network allows your resources to communicate securely, access the internet, and be reached by users. In this project, we’ll create a simple Virtual Cloud Network (VCN) to support our Valheim server and website.
Step 1 – Create a VCN
OCI Console:
Networking → Virtual Cloud Networks → Create VCN
Choose:
Name: Server-Web-VCN
CIDR: 10.0.0.0/16
Keep ‘Use DNS hostnames in this VNC’ checked
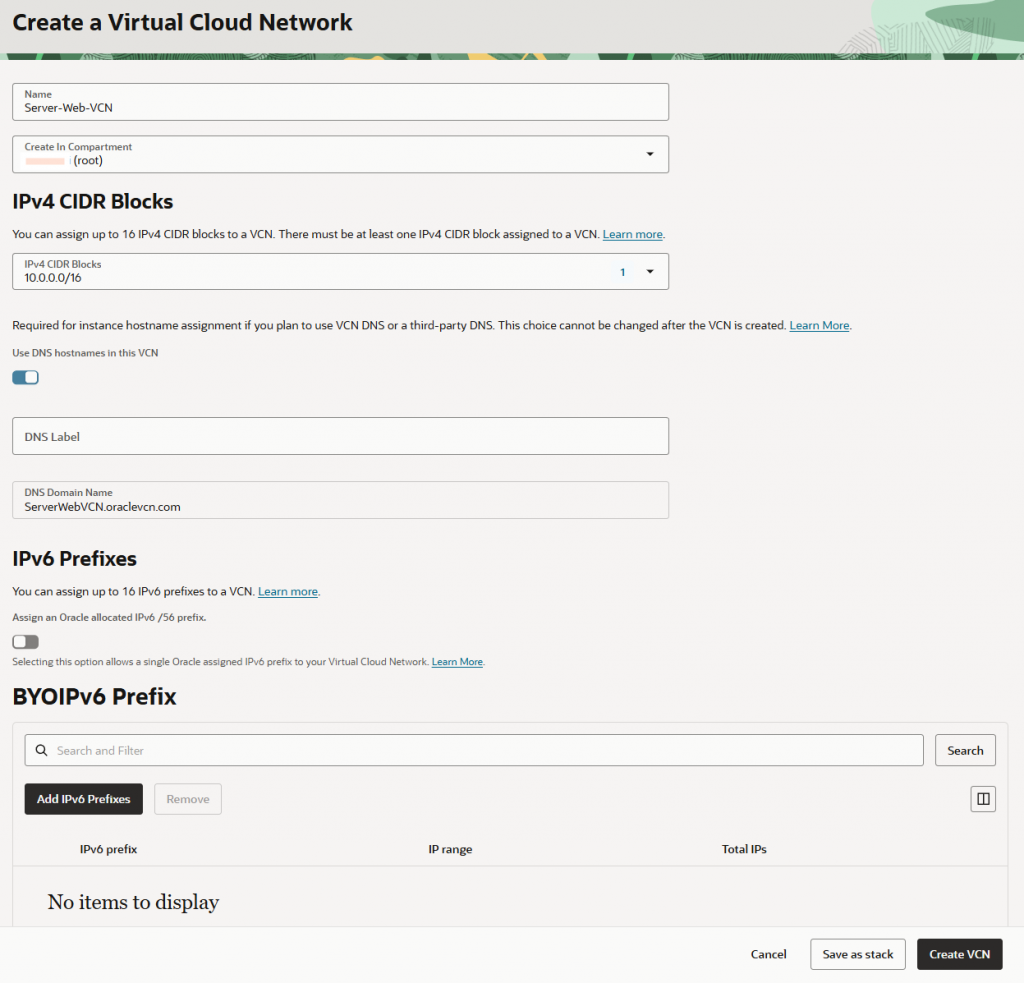
Click Create VCN
Step 2 – Create an Internet Gateway
Click into the network you have just created then along the top menu click ‘Gateways’:

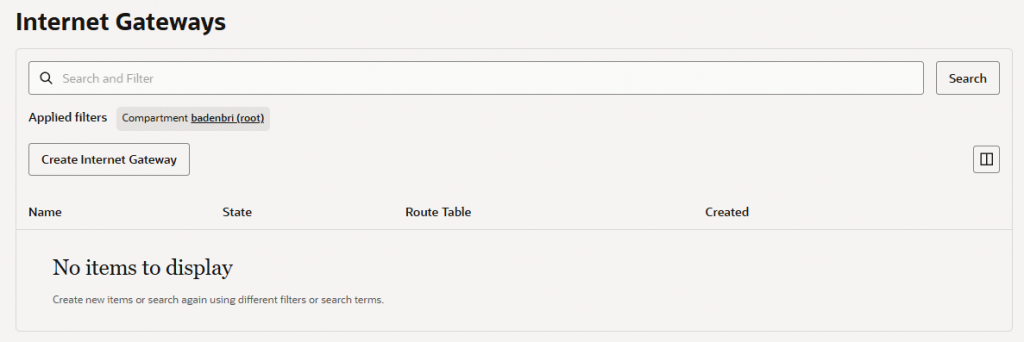
Name it and click ‘Create Internet Gateway’
Step 3 – Route Table
If you are using the VCN wizard or the default route table, simply add (or verify) the following route rule:
Destination: 0.0.0.0/0
Target: Internet Gateway
This allows internet access. You do not need to create a separate route table for a simple Valheim/WordPress server. The default route table is perfectly adequate.
Step 4 – Create a Public Subnet
Click into the network you have just created then along the top menu click ‘Subnets’:
 Create:
Name: Public-Subnet
CIDR: 10.0.0.0/24
Most important setting:
Subnet Access = Public SubnetIf you accidentally set this to Private Subnet you won’t get a public IP to set up websites and servers.
Step 5 – Security List
Restrict to your home IP only.
Go to Security in the VCN you have created and click the the default security list and click on the Security rules tab. Update the TCP 22 rule source from 0.0.0.0/0 to your IP address.
IP Protocol: TCP
Destination Port Range: 22
Source CIDR: Your public IP/32
Example:
81.x.x.x/32Use something like whatismyipaddress.com to check if you don’t know it.
Never leave SSH open to the world if possible.
Website
IP Protocol: TCP
Destination Port Range: 80
Source CIDR: 0.0.0.0/0

IP Protocol: TCP
Destination Port Range: 443
Source CIDR: 0.0.0.0/0
Valheim
IP Protocol: UDP
Destination Port Range: 2456
IP Protocol: UDP
Destination Port Range: 2457
IP Protocol: UDP
Destination Port Range: 2458

Source CIDR: 0.0.0.0/0